To add any Template you need to get ready with .xml template which you have to upload to blogger.
If you don’t have a
template and want to get it for free. Visit http://btemplates.com
where you can find 1000’s of free blogger templates to download.
Step 1:
Sign in to you Blogger
Account and choose your blog which you want to change Template.
In the left given menu List, choose the Template category.

Step 2:
Now you will see the two screens "Live on Blog" & "Mobile". Right side Top you will find Restore / Backup Button, click it.

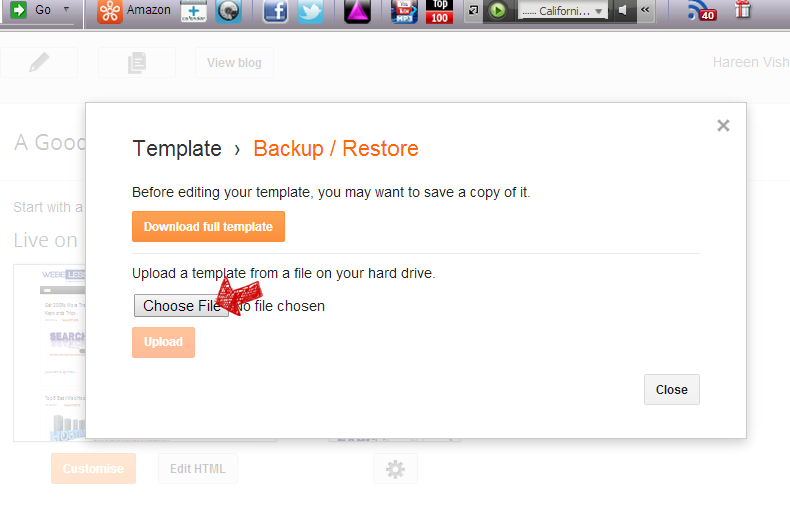
Step 3:
After clicking "Restore / Backup" Button, you will get popup where you need to upload the .XML file. Click Choose File and select you favorite .Xml Template file and click Upload button which you will find below Choose file.
Note: Depending on your internet speed, you need to wait 1 to 2 minutes to upload your xml file.
Step 4:
After uploading the file. you will see the new template preview in both Live on Blog and Mobile as same a below: Click View Blog in the Top to View your New Template Blog in Live.

No comments:
Post a Comment